Enhance Your Home’s Comfort With Proper Placement and Techniques
Ceiling fans are a great addition to any home, providing comfort and reducing energy costs. They circulate air, making your rooms feel cooler in the summer and warmer in the winter. Proper installation is key to maximizing their efficiency. This guide will help you understand how to install a ceiling fan correctly, ensuring optimal air circulation and performance.
Selecting the Right Ceiling Fan
Choosing the right ceiling fan involves considering several factors. Room size is critical as it determines fan blade span. A 52-inch fan is ideal for larger rooms, while smaller fans suit compact spaces. The motor’s quality also impacts performance; opting for an Energy STAR-rated model can enhance efficiency and reduce noise.
Preparing for Ceiling Fan Installation
Before starting the ceiling fan installation, gather all necessary tools and materials. You will need a screwdriver, a drill, wire strippers, and a ladder. Ensure electricity is turned off at the circuit breaker to prevent accidents. Check the ceiling’s stability and locate the center of the room for balanced air distribution.
Step-by-Step Guide to Installing Your Fan
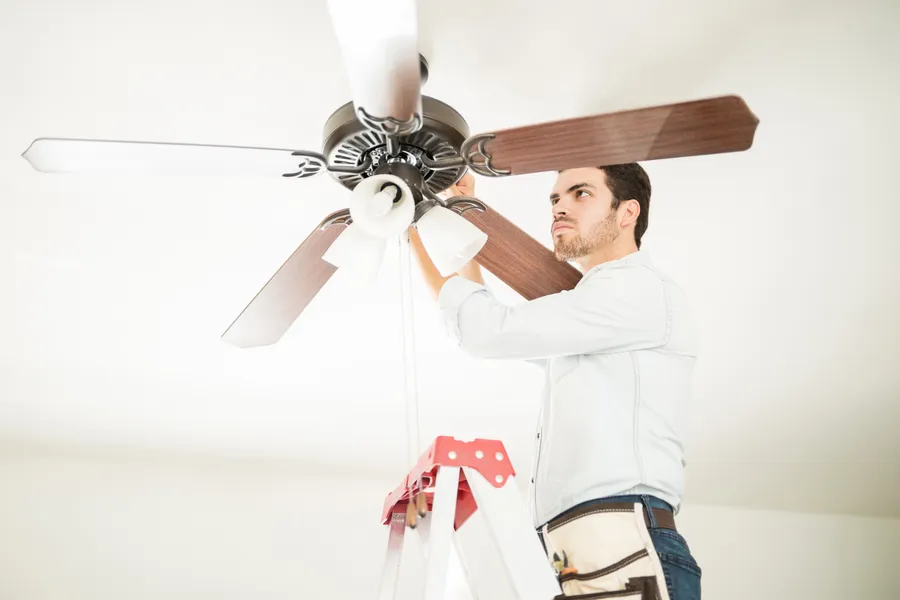
Installing a ceiling fan involves several steps that must be followed carefully:
- Attach the mounting bracket to the electrical box securely.
- Assemble the fan blades and motor housing per the manufacturer’s instructions.
- Connect the wiring according to color codes: black to black, white to white, and ground to ground.
- Secure the fan motor to the mounting bracket.
- Install the fan blades onto the motor.
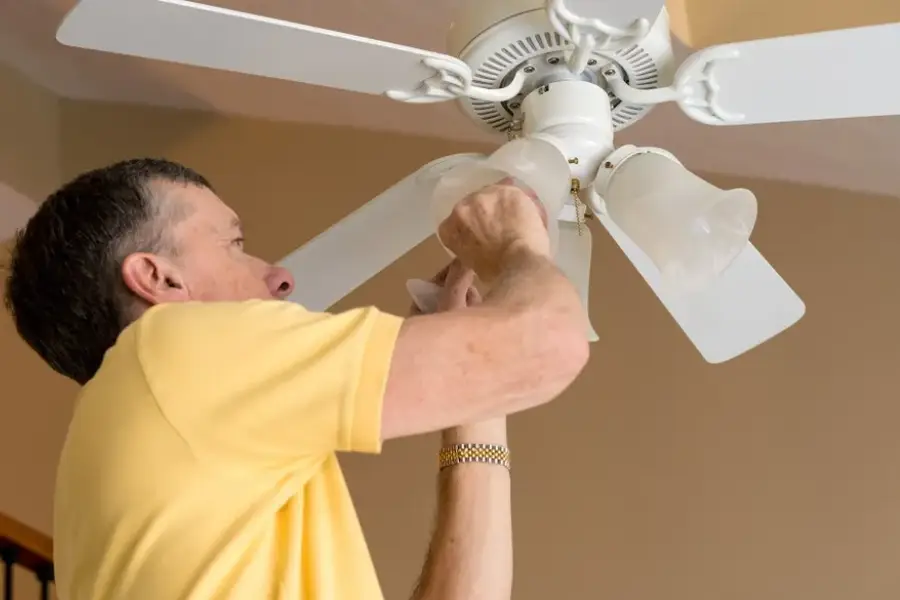
- Attach light fixtures if included and ensure bulbs work correctly.
This process requires patience and careful attention to detail to avoid mistakes and ensure safety.
Maximizing Airflow Efficiency
The placement and angle of your ceiling fan blades directly affect airflow efficiency. Ideally, blades should be positioned 8-9 feet above the floor and at least 18 inches away from walls. Setting the correct rotation direction according to season-counterclockwise in summer and clockwise in winter-can significantly improve air circulation and comfort.
Addressing Common Installation Issues
Troubleshooting common issues during ceiling fan installation is crucial. Frequent problems include wobbling fans or unusual noises. To fix wobbling, check if blades are evenly spaced and secure. Unusual noises may result from loose screws or unbalanced blades; tighten connections and use balancing kits if needed.
Maintenance Tips for Longevity
Regular maintenance ensures your ceiling fan operates smoothly over time. Dusting blades weekly prevents dust buildup, which can cause imbalance and wear on the motor. Tighten screws periodically and check electrical connections yearly for safety and performance enhancements.
Cost Considerations for DIY Installation
DIY ceiling fan installation can save money, but consider your skill level before attempting complex installations. Professional installations cost more but offer peace of mind with warranties and expert handling of electrical components. Balancing cost with expertise ensures long-term satisfaction.
Expert Recommendations With Ceiling Fans
Experts recommend choosing fans with reversible motors and remote controls for ease of use year-round. For taller ceilings, extension rods improve airflow effectiveness. Always follow manufacturer guidelines closely during installation to prevent voiding warranties or causing damage.
Contact Us for Expert Assistance
If you’re unsure about installing a ceiling fan yourself, professional help is just a call away. Located in Brighton, CO, we provide reliable services tailored to your needs. Contact Discount Electric Services today at (303) 306-4681 for expert advice and assistance in creating a comfortable home environment.

